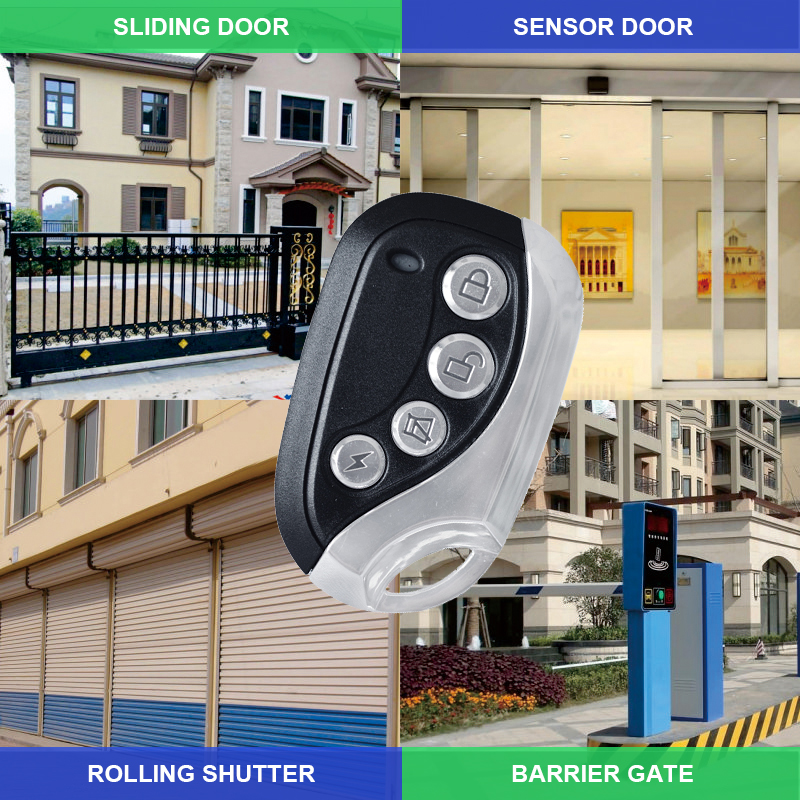
Synchronizing a custom gate remote control with your gate opener is an essential step in setting up or upgrading your automated gate system. Whether you’re using a new remote or reprogramming an existing one, the process ensures seamless communication between the remote and the gate opener. While the exact steps may vary depending on your gate opener model and remote, this article provides a general guide and tips for successful synchronization.

1. Gather the Necessary Tools and Information
Before beginning, ensure you have:
The custom gate remote control.
The user manual for your gate opener and remote (if available).
Access to the gate opener control box.
A small tool like a screwdriver if the control box requires opening.
2. Identify the Gate Opener’s Programming Mode
Gate openers typically have a programming or learning mode to pair remotes. To access this mode:
Locate the “Learn” or “Program” button on the gate opener control box.
This button is often inside the motor housing or on the circuit board. Check the user manual for exact details.
3. Enter the Gate Opener’s Programming Mode
Power On the Gate Opener:
Ensure the gate opener is connected to power and functional.Press the Learn/Program Button:
Press and hold the button until the indicator light starts blinking or remains solid, depending on your model.
This indicates the gate opener is ready to receive a signal from the remote.
4. Pair the Remote Control
Activate the Remote:
Press and hold the desired button on your custom remote.
Keep the button pressed until the indicator light on the gate opener blinks or confirms pairing.
Test the Connection:
Release the button and press it again to see if the gate responds.
The gate should open, close, or otherwise react, indicating successful synchronization.
5. Program Additional Buttons (if Needed)
If your custom remote has multiple buttons for controlling different gates or functions:
Repeat the programming process for each button, pairing it with the corresponding gate opener or function.
6. Exit Programming Mode
Once pairing is complete, press the Learn/Program button on the gate opener again to exit programming mode.
Alternatively, the system may exit programming mode automatically after a set time.
Troubleshooting Tips
Ensure Compatibility:
Confirm that your custom remote and gate opener operate on the same frequency (e.g., 433 MHz or 315 MHz).
Some gate openers may require remotes with rolling code technology for enhanced security.
Check Battery Levels:
Ensure the remote’s battery is fully charged or fresh. Low batteries can interfere with signal transmission.
Avoid Signal Interference:
Synchronize the remote in a location free from electronic interference, such as Wi-Fi routers or other wireless devices.
Reset and Retry:
If the synchronization fails, reset the gate opener by powering it off and on, and then repeat the process.
Some remotes have a reset function that can be activated before reprogramming.
Consult the Manuals:
Refer to the user manuals for detailed instructions specific to your devices.
If unavailable, check the manufacturer’s website for support resources.
Advanced Features of Custom Remotes
Custom gate remotes often come with additional features that require specific synchronization steps:
Multi-Gate Functionality:
Assign different buttons to control separate gates or access points.
Smart Integration:
Pair the remote with a smart home system for app-based gate control.
Timer Functions:
Some remotes allow you to program automated opening or closing schedules.
When to Seek Professional Help
If synchronization proves difficult or the gate opener fails to respond, consider contacting a professional technician. They can:
Verify compatibility between the remote and the gate opener.
Diagnose hardware or software issues.
Provide expert installation and programming.
Conclusion
Synchronizing a custom gate remote control with your gate opener is a straightforward process when following the correct steps. By ensuring compatibility, properly accessing the programming mode, and following the pairing instructions, you can enjoy the convenience and functionality of your custom remote. For enhanced security and performance, keep your remote and gate opener in good working condition and consult professionals when needed.

-
Office ViewQinuo Electronics Co., Ltd.was founded in 2009,it is a high-tech company that integrated R & D, manufacturing, sales and service for 15 years,which is mainly specialized in providing sensors of automatic door, control system of door and gate, car key remote, auto parts etc. The company currently has four independent brands: U-CONTROL, U-SENSORS, U-AUTOGATES and U-AUTOKEYS.
-
got questions? call us
+86 13960286508
-
fax :
+86 595 22901208 -
Email :
[email protected]
-
address
- No.991 Xingxiu Road,Taiwanese Investment Zone, Quanzhou, Fujian Province,P.R.China


