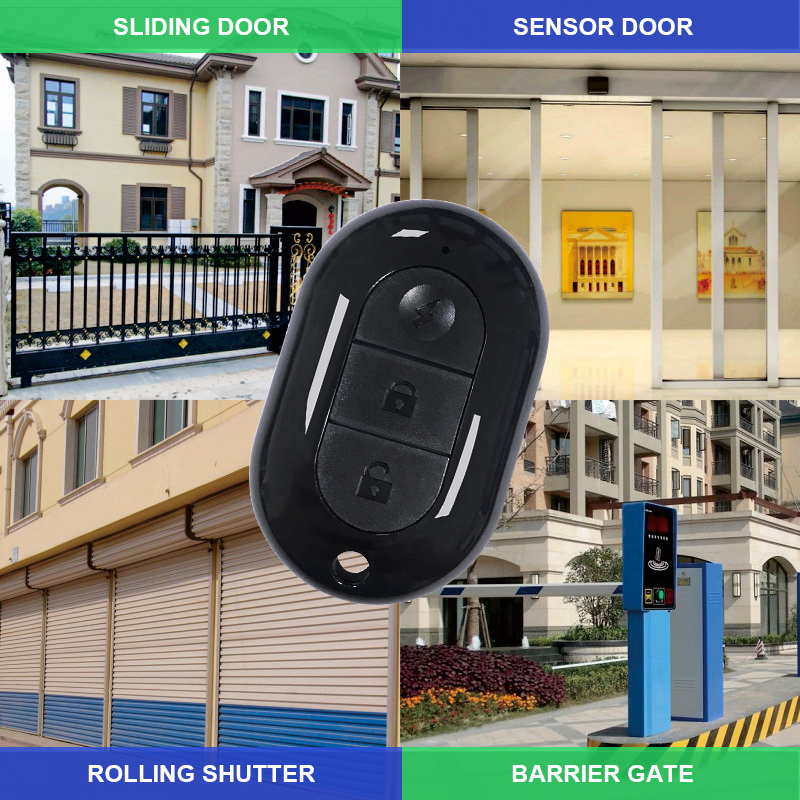
Programming a custom gate remote control without a keypad is often possible, depending on the type of gate system and remote control in use. While many gate systems feature a keypad for adding or managing remotes, alternative methods, such as using the receiver or the existing remote, can work just as well. This guide explores how to program a custom gate remote control without relying on a keypad.

Understanding Gate System Programming
Gate remote controls communicate with the gate's receiver, which stores and recognizes authorized remotes. Without a keypad, programming typically involves directly accessing the gate receiver or using the cloning functionality of the custom remote.
Common Scenarios
Fixed Code Systems:
Programming involves transferring the fixed code from an existing remote or manually syncing it with the receiver.Rolling Code Systems:
These require synchronization with the gate receiver, which generates a dynamic code for secure communication.
Methods for Programming a Custom Gate Remote Without a Keypad
1. Using the Gate Receiver
The gate receiver, usually located in the control box of the gate motor, is integral to programming remotes.
Steps to Program via Receiver
Locate the Receiver:
Open the gate motor’s control box to find the receiver. Look for a button labeled "Learn," "Program," or "Sync."Enter Learning Mode:
Press and hold the "Learn" button on the receiver until the indicator light starts flashing.Sync the Remote:
Press the desired button on the custom remote.
Hold the button for a few seconds until the receiver light stops flashing or confirms successful pairing.
Test the Remote:
Close the control box and test the remote by opening or closing the gate.
2. Cloning an Existing Remote
If you have a functioning remote, you can program the custom remote by copying its signal.
Steps to Clone a Remote
Align the Remotes:
Place the custom remote and the original remote close to each other, usually within 1–3 cm.Enter Cloning Mode:
Press and hold the designated programming button on the custom remote until its indicator light flashes.
On some remotes, this involves pressing two buttons simultaneously.
Transfer the Signal:
Press and hold the button on the original remote that you want to clone.
Simultaneously press the corresponding button on the custom remote.
The indicator light on the custom remote may flash or turn solid to confirm successful cloning.
Test the Custom Remote:
Test the custom remote to ensure it operates the gate.
3. Using Advanced Tools
For systems with more complex protocols or rolling codes, a specialized programming tool may be required.
Steps Using a Programmer
Connect the programmer to your gate receiver or remote.
Input the system’s frequency and coding parameters as instructed.
Pair the custom remote using the programmer’s software interface.
Challenges and Troubleshooting
1. Compatibility Issues
Frequency Mismatch: Ensure the custom remote operates on the same frequency as the gate system.
Coding Method: Custom remotes must support the same fixed or rolling code technology as the original system.
2. Receiver Limitations
Some older gate systems may have limited capacity for new remotes. If the receiver’s memory is full, you may need to delete unused remotes before programming a new one.
3. Incorrect Programming
If the custom remote fails to work, repeat the programming process and confirm that all steps are followed correctly.
Tips for Successful Programming
Consult the Manual: Refer to the user manuals for both the gate system and the custom remote for specific instructions.
Test Before Finalizing: Ensure the custom remote operates the gate reliably before sealing the control box or completing the setup.
Secure Access: Only authorized individuals should have access to the receiver to prevent unauthorized remote programming.
Conclusion
Programming a custom gate remote control without a keypad is often straightforward using the gate receiver or cloning an existing remote. With the right steps and tools, you can easily sync your custom remote to the system, even if a keypad is unavailable. Always ensure compatibility between the remote and the gate system, and consult the manuals for specific guidance. If challenges persist, consider reaching out to a gate automation professional for assistance.

-
Office ViewQinuo Electronics Co., Ltd.was founded in 2009,it is a high-tech company that integrated R & D, manufacturing, sales and service for 15 years,which is mainly specialized in providing sensors of automatic door, control system of door and gate, car key remote, auto parts etc. The company currently has four independent brands: U-CONTROL, U-SENSORS, U-AUTOGATES and U-AUTOKEYS.
-
got questions? call us
+86 13960286508
-
fax :
+86 595 22901208 -
Email :
[email protected]
-
address
- No.991 Xingxiu Road,Taiwanese Investment Zone, Quanzhou, Fujian Province,P.R.China


