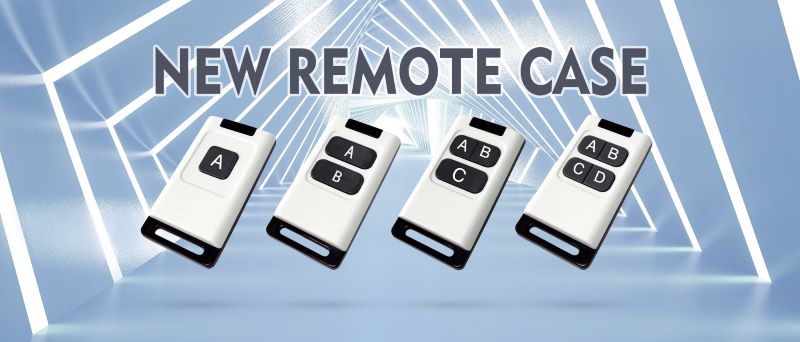
Programming a dip switch garage remote is a straightforward process that allows you to synchronize your remote control with your garage door opener. Dip switches, which stand for "dual in-line package," are small switches that can be toggled to create a unique code that matches the code set on your garage door opener. Here's a step-by-step guide to help you program your dip switch garage remote.

Step 1: Locate the Dip Switches
On the Garage Door Opener:
Open the Housing: Typically, the dip switches are located inside the motor unit of the garage door opener. Use a screwdriver to remove the cover or panel.
Find the Switches: Look for a row of small switches inside the unit. They might be located near the antenna or circuit board.
On the Remote Control:
Access the Battery Compartment: Open the battery compartment on the back of the remote control. The dip switches are usually located there.
Identify the Switches: You’ll see a series of small switches that can be toggled up or down.
Step 2: Match the Dip Switch Settings
Note the Current Settings: Take note of the current position of the dip switches on the garage door opener.
Set the Remote Switches: Using a small screwdriver or pen, toggle the switches on the remote control to match the settings of the dip switches on the garage door opener. The positions must be identical for the remote to work with the opener.
Step 3: Test the Remote
Close the Opener Housing: After setting the dip switches, replace the cover or panel on the garage door opener unit.
Insert Batteries: Ensure that the remote control has fresh batteries installed.
Test the Functionality: Stand a few feet away from the garage door and press the button on the remote control. The door should respond by opening or closing.
Step 4: Troubleshoot Common Issues
Non-Responsive Door: If the door doesn’t respond, double-check that the dip switch settings on both the remote and the opener are an exact match.
Interference: Ensure there is no electronic interference or physical obstructions between the remote and the opener.
Battery Check: Verify that the batteries in the remote control are properly installed and have sufficient charge.
Additional Tips
Consult the Manual: Refer to the user manual for your specific garage door opener model for any special instructions or settings.
Secure Your Code: To enhance security, avoid using factory default settings and choose a unique combination for your dip switches.
Professional Help: If you encounter difficulties or the remote still does not function properly, consider consulting a professional technician.
Conclusion
Programming a dip switch garage remote is a simple task that requires matching the dip switch settings on the remote with those on the garage door opener. By following these steps, you can ensure that your remote control is properly synchronized with your garage door system, allowing for seamless operation. Remember to refer to your product’s manual for any model-specific instructions and seek professional help if needed to troubleshoot persistent issues.

-
Office ViewQinuo Electronics Co., Ltd.was founded in 2009,it is a high-tech company that integrated R & D, manufacturing, sales and service for 15 years,which is mainly specialized in providing sensors of automatic door, control system of door and gate, car key remote, auto parts etc. The company currently has four independent brands: U-CONTROL, U-SENSORS, U-AUTOGATES and U-AUTOKEYS.
-
got questions? call us
+86 13960286508
-
fax :
+86 595 22901208 -
Email :
[email protected]
-
address
- No.991 Xingxiu Road,Taiwanese Investment Zone, Quanzhou, Fujian Province,P.R.China


