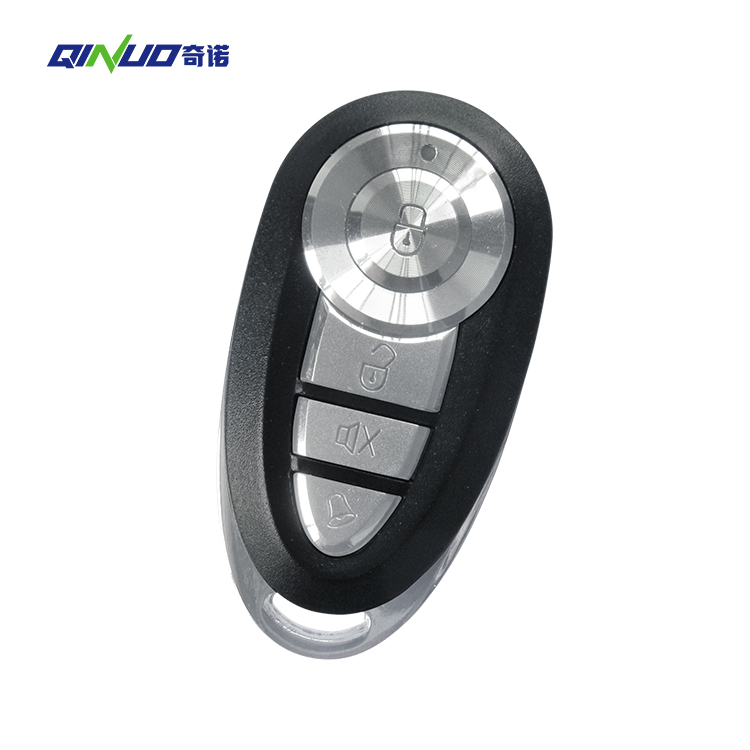
Dip switches are small switches found on the circuit boards of garage door openers and remote controls. They are used to set a unique code that ensures your remote control and opener communicate properly. If you're installing a new remote or troubleshooting an existing one, finding and correctly setting these dip switches is crucial. Here’s a comprehensive guide on how to locate and set the dip switch settings for your garage door opener.

Step 1: Understand What Dip Switches Are
Dip switches are binary switches (on/off) arranged in a series. They create a unique code when configured in a specific sequence. In garage door systems, both the remote control and the opener need to share the same dip switch code for the system to function correctly.
Step 2: Gather Necessary Tools
Before you start, make sure you have the following tools:
A step ladder (for reaching the garage door opener unit)
A flashlight (to see inside the opener unit)
A small flathead screwdriver or a pen (to adjust the dip switches)
Step 3: Locate the Dip Switches on the Remote Control
Open the Remote Control: Remove the cover or battery compartment door to access the internal components.
Find the Dip Switches: Look for a row of small switches. They may be labeled with numbers or just an on/off position.
Step 4: Locate the Dip Switches on the Garage Door Opener
Turn Off the Power: For safety, turn off the power to your garage door opener at the breaker box.
Open the Opener Cover: Use a screwdriver to remove the cover of the garage door opener. This cover is usually located on the back or side of the opener unit.
Find the Dip Switches: Inside, you’ll see a circuit board with a row of dip switches similar to those in the remote control. They may be located near the motor or on the logic board.
Step 5: Match the Dip Switch Settings
Compare Settings: The dip switches on the remote control need to match the ones on the garage door opener exactly. This means setting each switch in the same position (on or off) on both the remote and the opener.
Set the Dip Switches: Use the flathead screwdriver or pen to flip the switches to the desired positions. Ensure they are firmly in place to avoid miscommunication between the remote and opener.
Step 6: Test the System
Restore Power: Turn the power back on at the breaker box.
Test the Remote: Press the button on your remote control to see if the garage door responds. If it does, your dip switch settings are correct.
Troubleshoot: If the door does not respond, double-check the dip switch settings on both the remote and the opener. Ensure they match exactly.
Step 7: Secure and Finalize
Close the Opener Cover: Once the settings are correct and the system works, replace the cover on the garage door opener.
Replace Remote Cover: Put the battery cover back on the remote control.
Tips and Considerations
Manufacturer’s Manual: Always refer to your garage door opener’s manual for specific instructions and diagrams. Manuals often provide detailed information on locating and setting dip switches.
Model Variations: Different models and brands may have variations in dip switch locations and configurations. Make sure you are working with the correct model-specific information.
Security: Ensure the dip switch settings are unique to avoid interference from other nearby garage door openers using the same frequency and code.
Conclusion
Finding and setting the dip switches on your garage door opener is a straightforward process that ensures your remote and opener communicate effectively. By following the steps outlined above, you can confidently locate and adjust the dip switch settings, ensuring your garage door system operates smoothly and securely. Regularly checking these settings can help maintain reliable performance and security for your garage access.

-
Office ViewQinuo Electronics Co., Ltd.was founded in 2009,it is a high-tech company that integrated R & D, manufacturing, sales and service for 15 years,which is mainly specialized in providing sensors of automatic door, control system of door and gate, car key remote, auto parts etc. The company currently has four independent brands: U-CONTROL, U-SENSORS, U-AUTOGATES and U-AUTOKEYS.
-
got questions? call us
+86 13960286508
-
fax :
+86 595 22901208 -
Email :
[email protected]
-
address
- No.991 Xingxiu Road,Taiwanese Investment Zone, Quanzhou, Fujian Province,P.R.China


